A failed tile roof in Shingle Springs does not just leak. It exposes the structure beneath to freeze-thaw damage from November through March, accelerates underlayment decay under dense oak and pine canopy, and can put a property out of compliance with El Dorado County's Class A fire-rating requirements. Reliable tile roofing installation is the difference between a roof that lasts a single generation and one that lasts three. Roof Geeks handles tile roofing installation, repair, and full replacement for properties throughout the greater Sacramento region, operating from our base at 4261 Sunset Lane right here in Shingle Springs.
Get a straight answer on tile roofing costs and timelines for your Shingle Springs property.
Key Takeaways
- Clay and concrete tile roofing systems can last 50 to 100 years when installed over a correctly specified underlayment and batten system.
- Tile roofing installation in El Dorado County WUI zones must meet Class A fire-rating requirements under the California Building Code.
- Shingle Springs properties in Title 24 Climate Zone 12 are generally exempt from cool-roof mandates when a minimum 3/4-inch batten air gap is maintained.
- Annual debris clearing from tile valleys is critical in Shingle Springs, where oak and pine canopy accelerates underlayment degradation if organic material is left to accumulate.
- Foam-adhesive ridge cap systems face accelerated failure in Shingle Springs summers, where peak surface temperatures on dark tile can exceed 150 degrees Fahrenheit.
Clay Tile vs. Concrete Tile: Which Material Is Right for the Shingle Springs Climate?
For most Shingle Springs properties, concrete tile offers the best cost-to-lifespan ratio, while clay tile is the better long-term investment for custom or high-value homes. Choosing the wrong tile material for a Northern California foothill property creates problems that compound over decades. Elevation, summer heat above 105 degrees Fahrenheit, and freeze-thaw cycling from late fall into early spring all stress tile roofing systems in ways that differ significantly from coastal or valley installations, and each material responds to those conditions differently.
Clay Tile: Performance, Weight, and Fire Rating
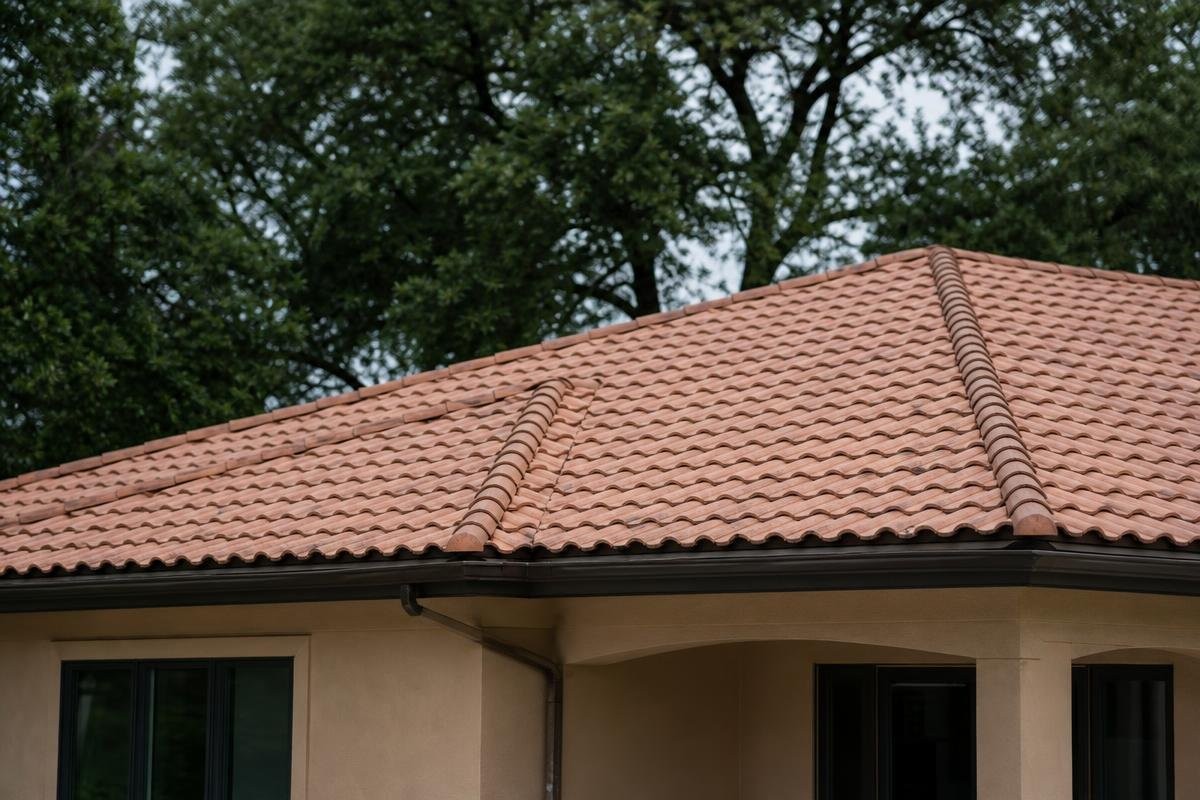
Clay tile manufactured to the ASTM C1167 standard is kiln-fired at high temperature, which eliminates moisture absorption and produces a tile that holds color and structural integrity for 50 to 100 years without surface degradation. Common profiles include S-tile (two-piece barrel), flat shake, and Spanish barrel. Shingle Springs itself carries a mixed character, from older ranch-style homes on acreage to newer custom builds, and the Spanish barrel and S-tile profiles suit the Mediterranean-influenced custom homes going up on the larger parcels here.
Installed weight runs 900 to 1,200 lbs per square, which means structural framing must be verified before installation. Our technicians assess existing rafter and sheathing capacity on every clay tile project before material is ordered.
Concrete Tile: Cost, Profiles, and Moisture Behavior
Concrete tile, governed by ASTM C1492, is a Portland cement and sand composite that weighs 950 to 1,100 lbs per square and carries a 30 to 50 year service life. It costs less than clay at the material level, which is why it became the dominant roofing material in foothill subdivisions built between 1990 and 2010. The trade-off is moisture absorption: concrete tile is more porous than fired clay, and efflorescence, the white calcium carbonate bloom that signals moisture migration, typically appears between 15 and 20 years on unsealed surfaces. Its flat and low-profile shapes also pair well with the ranch-style homes that make up much of the older housing stock in this area.
For a re-roofing project on those homes, our crews perform a full tear-off of the original concrete tile system and inspect the underlayment and battens before any new material is set.
Ceramic and Specialty Tile: When Standard Profiles Are Not Enough
Glazed ceramic tile and slate-profile concrete tile serve custom applications where standard profiles do not match the existing architecture or HOA requirements. Concrete tile rebuilds and specialty tile work are services most local contractors do not advertise. Our crews have successfully sourced and matched discontinued Eagle Roofing and Boral concrete profiles by cross-referencing regional distributor overstock, blending new field tile into existing systems without visible seams or a mismatched patch.
Both clay and concrete tile achieve a Class A fire rating when installed over a compliant underlayment assembly. The assembly rating, not the tile alone, is what satisfies fire-rated roofing requirements in WUI zones. Property owners in affected areas should review what El Dorado County homeowners need to know about WUI roofing requirements before selecting a material, and our team can confirm which assembly qualifies for each specific parcel. For a broader comparison of fire-resistant roofing options available in the area, that resource covers rated assemblies across multiple material categories.
What Does Tile Roofing Installation Cost in Shingle Springs?
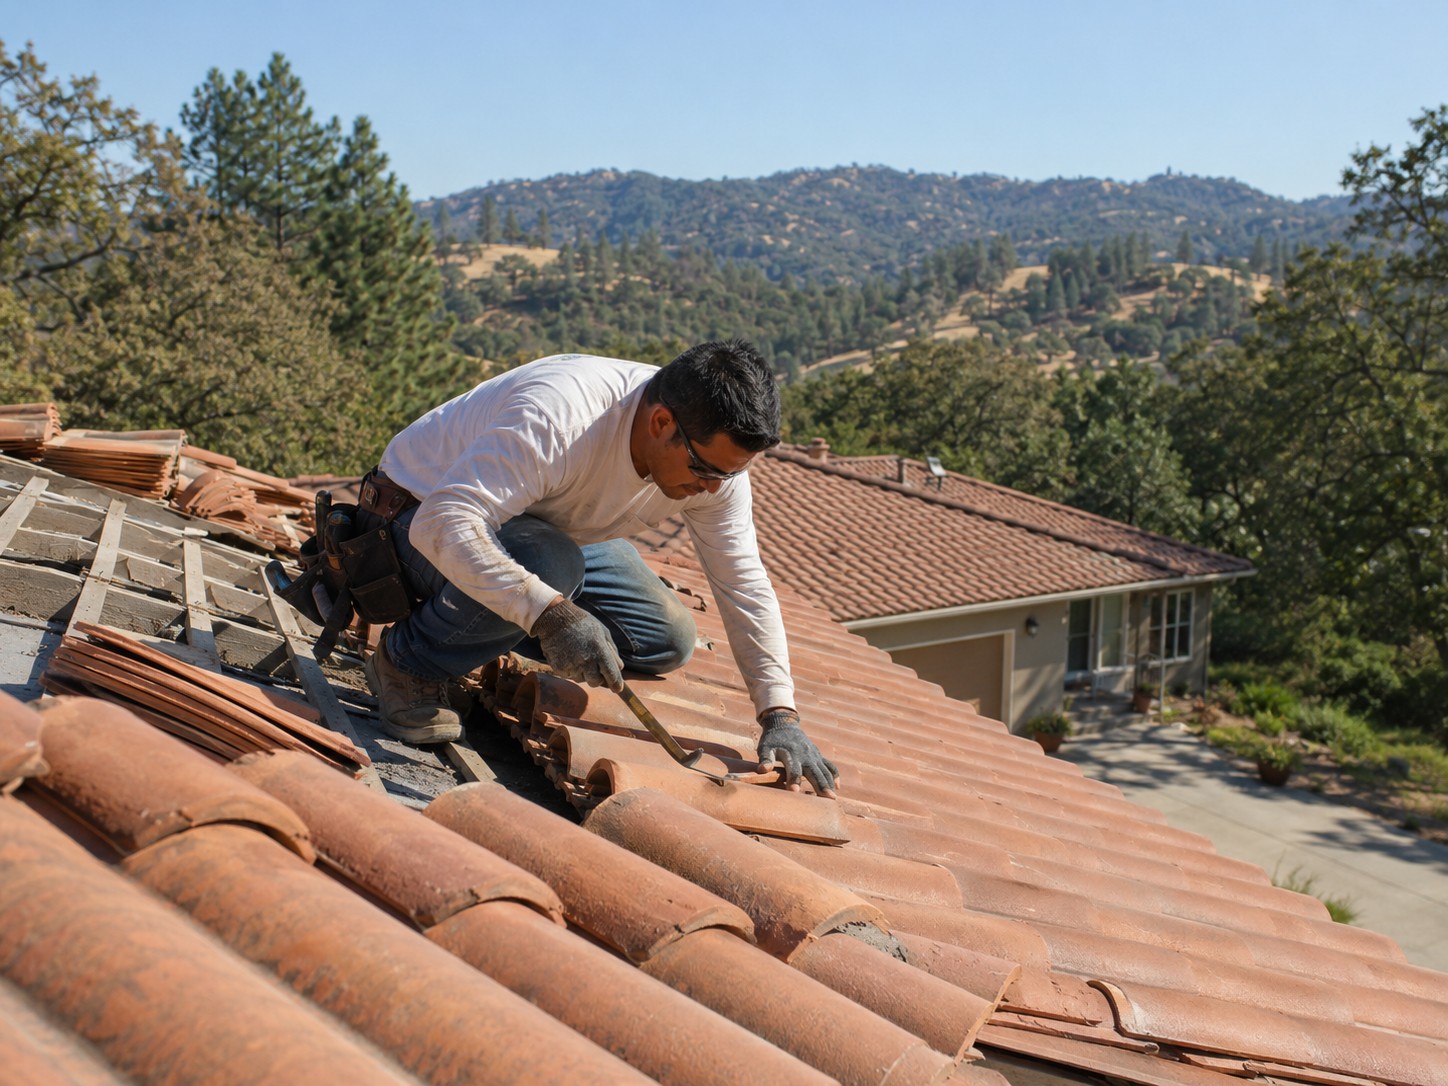
Cost opacity is one of the most common problems property owners face when getting tile roofing bids. Without published price ranges, it is difficult to know whether a quote reflects actual Northern California labor rates or an inflated margin. The ranges below reflect current concrete tile roof installation and clay tile installation costs in this region, including standard scope items most contractors leave out of initial estimates.
Installed Cost Ranges for Concrete and Clay Tile
Concrete tile installation runs between $10 and $16 per square foot installed across the greater Sacramento region. That range covers single-layer tear-off, 30-lb or synthetic underlayment, mortar-set hip and ridge caps, and haul-away of the old roofing material.
Clay tile installation runs higher, typically $15 to $25 per square foot installed. The wider range reflects the higher material cost of clay tile itself and the additional labor required for mortar bedding and pointing at hips, ridges, and rakes. For a deeper look at how these figures compare to other roofing materials, see our breakdown of new roof cost in Shingle Springs.
Get an itemized tile roofing estimate for your Shingle Springs property, with no line items hidden.
Factors That Shift the Final Price
Several site conditions push a tile roofing installation project above the base estimate. Roof pitch above 6:12 adds 10 to 20 percent to labor costs alone. Deck damage, including dry rot or OSB delamination, requires board replacement before tile can be set, and that work is priced separately from the roofing scope.
Each penetration, including chimneys, skylights, and pipe boots, requires custom step flashing and counter-flashing fabricated to fit. Homes built before 1985 on 2x6 rafter systems may also require a structural engineer's letter confirming the deck can carry the added dead load. Minimum deck capacity is 3.5 psf for concrete tile and 4.0 psf for clay tile. Structural reinforcement, when required, is a real line item.
Tile vs. Asphalt: A Lifecycle Cost Comparison
A 50-year clay tile roof installed at $20 per square foot represents a single capital expenditure over that period. Two asphalt shingle replacements over the same 50 years, each at roughly $7 per square foot, total approximately $14 per square foot, not counting mid-cycle repair costs or the compounding labor expense of a second full tear-off.
The math favors tile on a long-hold property, though the higher upfront cost of tile roofing installation is a real constraint for some budgets. The comparison is data, not a recommendation. Each property owner should weigh initial outlay against projected ownership horizon before selecting a roofing material.
How Long Does a Tile Roof Last? Lifespan Data for Northern California Conditions
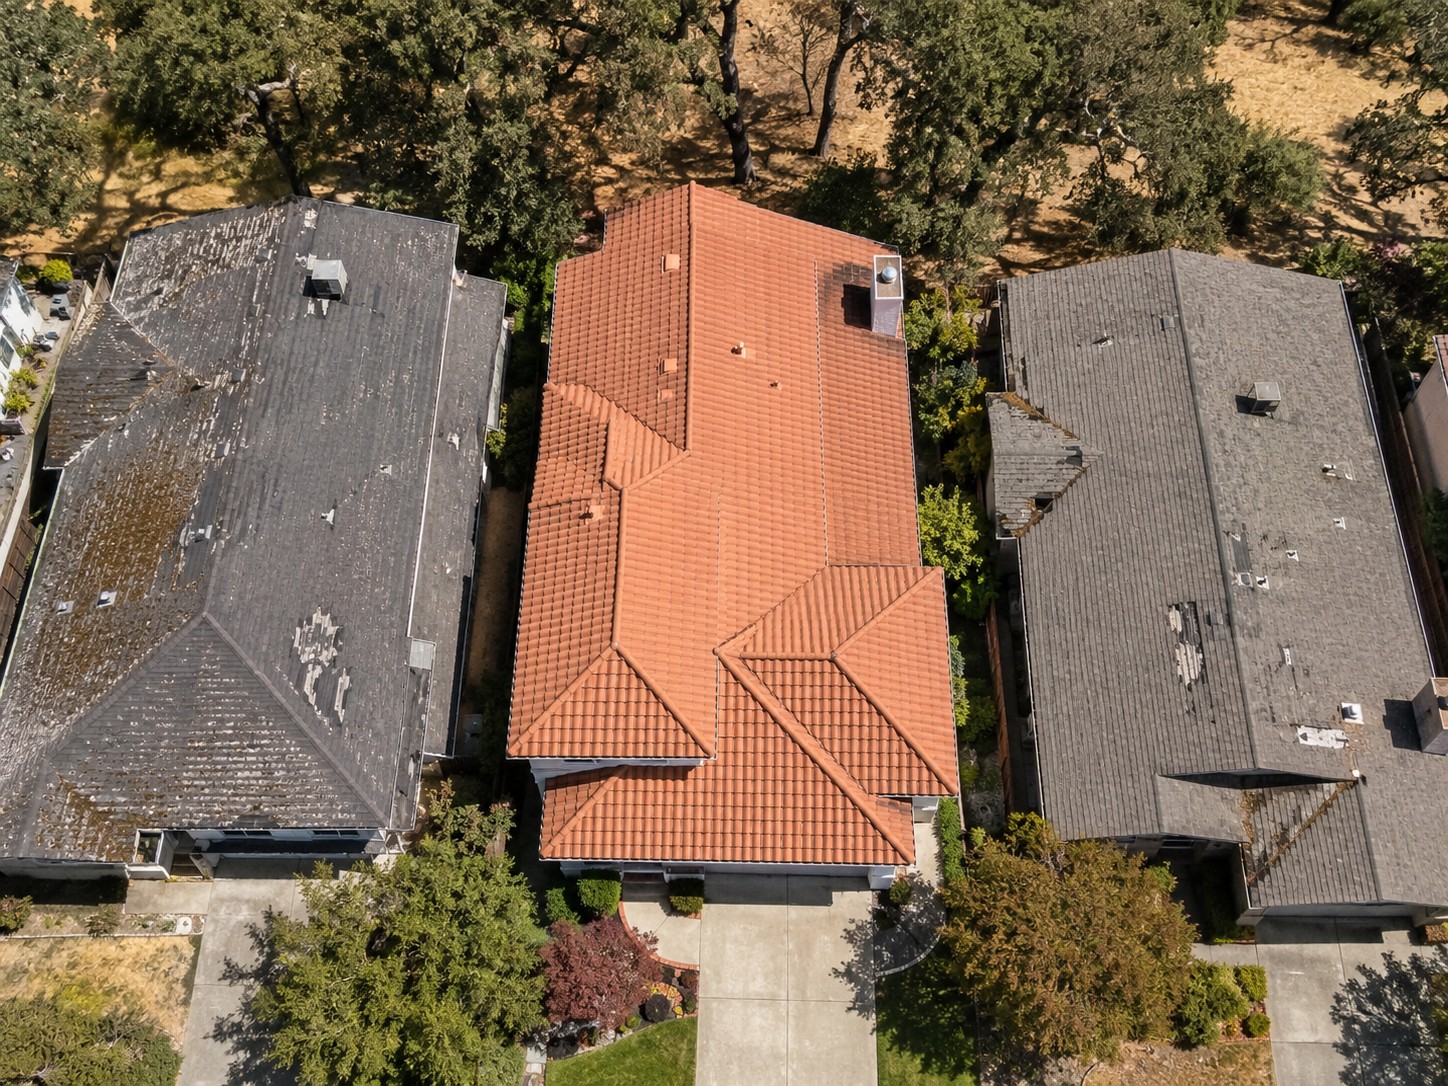
A tile roof that outlasts its underlayment does not leak at the tile surface. It leaks at the deck, often for months before the property owner notices damage. The tile material and the underlayment beneath it have very different service lives, and understanding that gap is the most important factor in projecting total system cost.
Clay Tile Lifespan and Underlayment Replacement Cycles
Clay tile roofing installed over a two-layer 40-lb felt or high-temperature SBS modified bitumen base sheet carries a realistic tile life of 50 to 100 years. The underlayment is the limiting component, typically requiring replacement at the 20-to-30-year mark regardless of how well the tile field holds up.
Underlayment-only replacement is possible without disturbing an intact tile field when mortar set is sound and tiles are undamaged. This is a significant cost advantage over full system replacement, and our crews assess underlayment condition during every roof inspection to determine whether a targeted replacement is viable before recommending a full tear-off.
Concrete Tile Lifespan and Surface Maintenance
Concrete tile absorbs moisture over time, producing surface erosion, color fade, and efflorescence in the 15-to-20-year range. Applying a penetrating silane-siloxane sealer or elastomeric coating at the 15-year mark slows that degradation and extends service life without a full replacement. Our roof coating and waterproofing services include concrete tile treatment as a standalone maintenance option for properties across El Dorado County.
What Shortens Tile Roof Lifespan in the Sierra Foothills
Three conditions specific to this geography accelerate tile system failure faster than a comparable installation on the California coast. First, elevations between 1,200 and 1,500 feet, common across this part of the county, produce overnight freeze events in the winter months that crack and debond mortar-set hip and ridge caps through repeated freeze-thaw cycling.
Second, dense oak and pine canopy deposits organic debris in tile valleys, trapping moisture against the underlayment and accelerating degradation if valleys are not cleared annually.
Third, sustained summer heat drives dark tile surface temperatures well past 150 degrees Fahrenheit, stressing foam-adhesive ridge cap systems through thermal expansion and shortening their effective bond life below manufacturer projections.
The Tile Roof Installation Process: 7 Steps Our Crews Follow on Every Project
A tile roofing installation fails most often not because of the tile itself, but because of what happens beneath it and around it. Our crews follow a fixed seven-step sequence on every concrete tile roof installation and clay tile project across the foothill communities we serve.
Step 1: Structural Deck Inspection
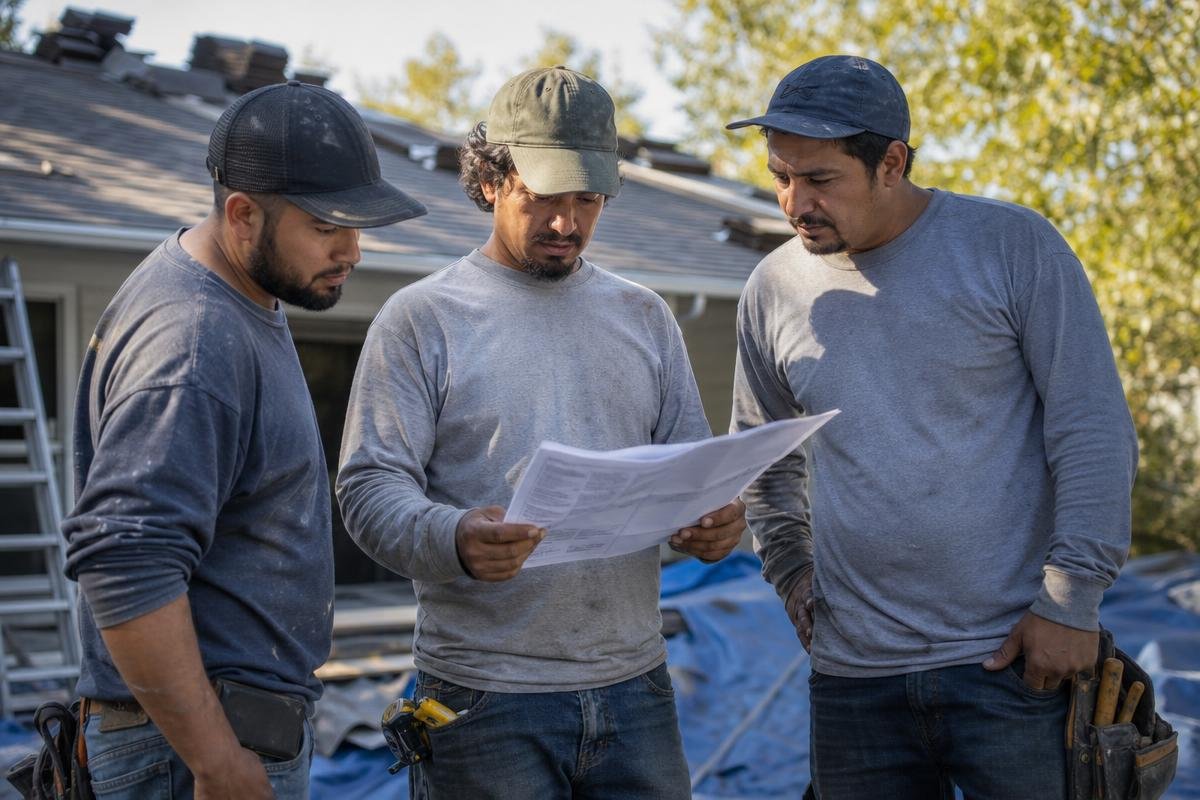
Tile weighs 3.5 to 4.5 pounds per square foot of live load, and a deck that cannot carry that weight will deflect, crack mortar joints, and shed tiles within a few seasons. Our technicians probe every eave edge for dry rot, check OSB panels for delamination, and verify rafter spacing before a single material is ordered. A roof inspection at this stage prevents structural failures that no tile or underlayment can correct after the fact.
Step 2: Underlayment Installation
Underlayment is the primary waterproof plane of any tile roofing system. Code and TRI Alliance standards require a minimum one layer of 30-lb felt or ASTM D226 Type II underlayment on slopes of 4:12 and above. Slopes below 4:12 require a two-layer system, and low-slope tile applications call for a high-temperature SBS modified base sheet.
Step 3: Batten Layout and Fastening
Battens create the air gap that Title 24 Climate Zone 12 requires for steep-slope tile assemblies, and incorrect spacing compromises both code compliance and tile headlap. Our installers fasten pressure-treated 1x2 or 1x3 horizontal battens at manufacturer-specified intervals, calculated from the tile's minimum three-inch headlap requirement per TRI Alliance standards.
Step 4: Field Tile Setting and Mechanical Fastening
Field tiles are set in a staggered bond pattern and fastened with corrosion-resistant screws or nails per each manufacturer's fastening schedule. In California exposure category C and D wind zones, which include communities throughout the local area, every tile receives a mechanical fastener rather than relying on gravity or adhesive alone.
Step 5: Hip, Ridge, and Rake Tile Work
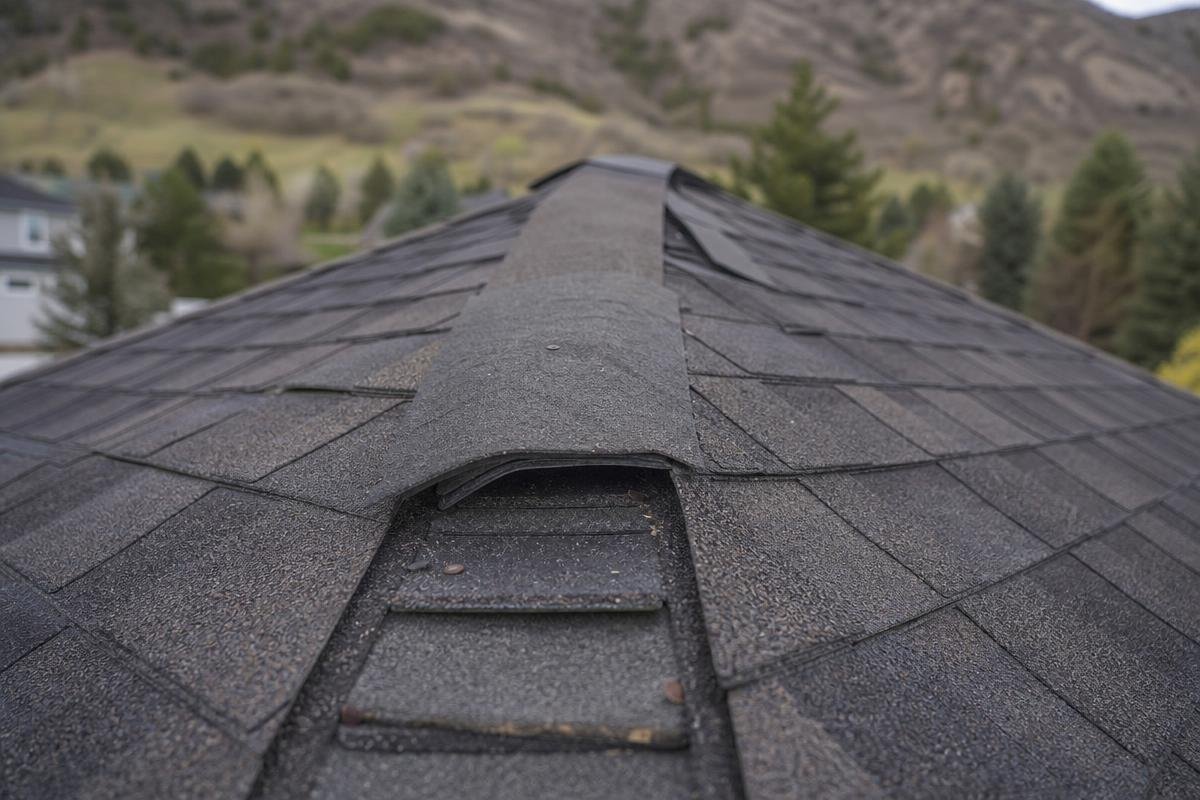
Unsealed hip and ridge caps are a direct point of entry for wind-driven rain and nesting pests. Our crews bed caps in a Type S mortar mix (one part Portland cement to three parts masonry sand) or manufacturer-approved foam adhesive, then mechanically fasten and point all rake tiles with mortar at every exposed edge.
Step 6: Flashing at Penetrations and Vertical Walls
Flashing failures account for the majority of tile roof leaks. Our installers interweave 4x4-inch L-shaped aluminum or galvanized steel step flashing with each tile course, embed counter-flashing with a minimum four-inch lap, and fit pipe penetrations with lead or EPDM boots sealed directly to the tile surface.
Step 7: Final Inspection and Site Cleanup
Every completed tile installation receives a full field walk to identify cracked tiles, open mortar joints, and debris accumulation in valleys and gutters. All packaging, broken tile shards, and mortar waste are removed from the property before the project is closed out.
Ready to schedule your tile roofing installation? Call our team at (916) 888-7663 to book a site visit.
Tile Roofing in El Dorado County: WUI Zones, Fire Ratings, and Local Code Requirements
Much of the foothill terrain surrounding Shingle Springs sits inside designated Wildland-Urban Interface zones, where roofing is governed by stricter fire codes than standard residential areas. Property owners in these zones do not have a choice: the California Building Code mandates Class A roofing assemblies on re-roofing projects, making fire-rated tile a legal requirement, not an upgrade. For a full breakdown of what those designations mean for your specific parcel, see what El Dorado County homeowners need to know about WUI roofing requirements.
Class A Fire Ratings and WUI Assembly Requirements
The fire rating applies to the full roofing assembly, not the tile alone. Both the tile product and the underlayment must appear together in a listed ICC Evaluation Service report (ES-ER), confirming the complete system achieves the required fire resistance. Our installers verify the ES-ER number for every tile and underlayment combination before a single batten goes down, because a tile rated independently does not satisfy the assembly requirement under the county's WUI code.
California Title 24 Energy Code and Climate Zone 12
This part of El Dorado County falls within Title 24, Part 6 Climate Zone 12. Steep-slope tile roofs pitched above 2:12 are generally exempt from the cool-roof solar reflectance mandate in this climate zone, provided the installation includes a minimum 3/4-inch batten height that maintains the passive ventilation gap beneath the tile. That batten air gap reduces attic heat gain without requiring a specialized reflective coating, which matters given how much heat these foothill summers produce. For guidance on selecting materials that balance energy performance with fire resistance, the best roofing materials for local homes covers those tradeoffs in detail.
Permit Requirements in El Dorado County
The El Dorado County Building Department requires a permit for any full roof replacement and for re-roofing work exceeding 100 square feet. Unpermitted tile installations create title complications and insurance coverage disputes at resale, and WUI zone properties face additional scrutiny during any future sale or refinance. Our team pulls all required permits, schedules the county inspections, and delivers the final inspection card to the property owner before the project is closed out.
Maintaining a Tile Roof in Shingle Springs: What Property Owners Need to Do
Deferred tile roof maintenance rarely shows up as a cracked tile first. Damage concentrates at the underlayment, step flashing, and mortar joints, staying invisible until ceiling staining appears and the repair scope has grown significantly. Annual maintenance on a tile roofing system in the Sierra Nevada foothills is not optional upkeep; it is what separates a 50-year roof from one that fails at 25.
Annual Inspection: What Cannot Be Seen from the Ground
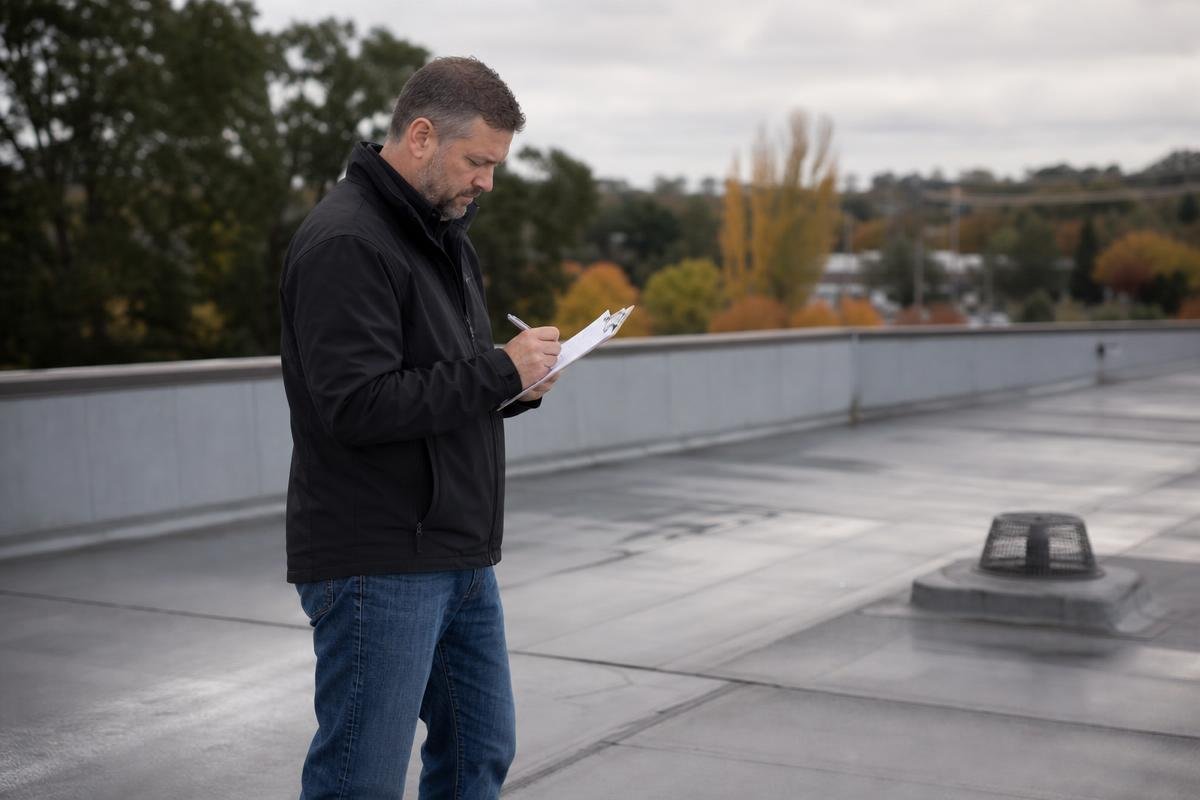
A tile roof that looks intact from the street can have open mortar joints, cracked field tiles, and failed step flashing at chimneys and skylights that only a close-range inspection will catch. Our technicians use drone survey to document every defect across the full tile field without walking the surface, which is the leading cause of installer-induced cracking on existing roofs. Property owners throughout the Rescue and Orangevale areas benefit from the same protocol: a full photographic record of every point of entry risk, delivered after each annual visit. Schedule roof inspection services before the first freeze events arrive each fall.
Moss, Algae, and Organic Debris Management
Dense pine and deciduous canopy throughout the foothill communities deposits organic debris in tile valleys and at the eave line year-round. That debris retains moisture against the underlayment and accelerates degradation faster than thermal cycling does. Low-pressure washing followed by a biocide application clears existing moss colonies without fracturing tile surfaces; high-pressure washing is never used because it erodes the tile surface and voids most manufacturer-specified warranties. Installing a zinc or copper strip at the ridge releases ions with each rainfall, inhibiting future moss and algae growth passively between service visits.
Broken Tile Replacement and Mortar Repointing
A single cracked field tile creates a direct water entry point at the underlayment surface. Our crews stock common concrete tile profiles for same-season replacement, and matching clay tile is sourced from regional distributors to maintain a consistent roofing system appearance.
Mortar-set hip and ridge caps require repointing every 15 to 20 years as the mortar carbonates and loses adhesion, a process accelerated by freeze-thaw cycling at elevations above 1,200 feet. Repointing costs a fraction of full ridge cap replacement; ignoring it transfers the repair cost to the underlayment and decking below. Contact us for roof repair services when cracked tiles or failing mortar joints are identified.
Frequently Asked Questions
How Long Does a Tile Roof Installation Take?
A full tile replacement on a home in the 2,000 to 3,000 square foot range typically runs 5 to 8 working days, covering tear-off, deck repair, underlayment, batten installation, tile setting, and mortar work. Cold overnight temperatures below 40 degrees Fahrenheit delay mortar cure and can extend that schedule, which is a real factor during the winter months at foothill elevations.
Can Tile Be Installed Over Existing Asphalt Shingles?
No. The California Building Code limits re-roofing to two layers maximum, but tile cannot go over asphalt regardless of layer count. The combined weight exceeds structural limits, and the uneven asphalt surface prevents battens from seating correctly. Full tear-off to the deck is always required for concrete tile roof installation.
What Is the Difference Between Mortar-Set and Foam-Set Ridge Caps?
Type S mortar bonds rigidly and resists wind uplift well, but requires repointing every 15 to 20 years. Two-part polyurethane foam installs faster and eliminates cracking, but may need re-adhesion at 20 to 25 years. For foothill properties with freeze-thaw cycling through the colder months, mortar-set ridge caps are generally the more durable long-term choice. Both methods are code-compliant per the tile manufacturer's ES-ER report.
Does My Home's Structure Need to Be Evaluated Before Tile Installation?
Concrete tile adds 9.5 to 11 lbs per square foot; clay tile adds 9 to 12 lbs, compared to 2 to 3 lbs for asphalt shingles. Homes built before 1985 with 2x6 rafters at 24-inch on-center spacing frequently require a formal load analysis before our installers proceed.
Is a Permit Required for Tile Roofing in El Dorado County?
Skipping the permit is not a legal option. A permit is required for all re-roofing projects in this jurisdiction, and unpermitted work creates title and insurance problems at resale. Our team manages the application, inspection scheduling, and final sign-off, and the property owner receives the signed inspection card at project close.
What Is the Installed Cost Per Square Foot for Tile Roofing in Shingle Springs?
Concrete tile runs $10 to $16 per square foot installed; clay tile runs $15 to $25 per square foot installed. Both ranges cover tear-off, underlayment, battens, tile, mortar work, and haul-away. For a full breakdown, see our tile roofing services page. All pricing is confirmed in writing before work begins.
A tile roof installed correctly in this region should last 30 to 100 years depending on material and maintenance. Getting there starts with an accurate deck assessment, the right underlayment assembly for WUI requirements, and mortar work built to handle freeze-thaw cycling. Our team serves Folsom, Rescue, Granite Bay, and the broader Sacramento area from our base at 4261 Sunset Lane, Shingle Springs. Schedule a drone roof inspection and get a written estimate with full material specifications by calling (916) 888-7663.
Ready to Get Started with Roof Geeks?
Call (916) 888-7663 to speak with our team directly. We're ready to answer your questions, walk you through your options, and help you find the right solution for your needs. Whether you're just starting to plan or ready to move forward, we'll make the process simple and stress-free. Reach out today and let's talk about how we can help.